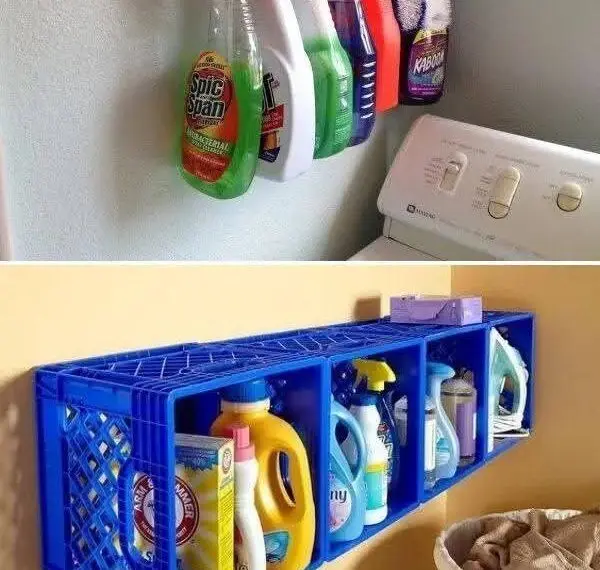
How to Turn Plastic Crates into Wall Shelves A Simple, Budget-Friendly DIY Idea for Your Home
Plastic crates can be transformed into stylish and functional wall shelves with just a few tools. Whether you want extra storage in your kitchen, bedroom, or garage, this is an easy and affordable solution.
Tools & Materials You’ll Need
- Sturdy plastic crates
- Drill
- Screws and wall anchors (depending on your wall type)
- Screwdriver
- Level (to keep things straight)
- Pencil for marking
Method 1: Direct Wall Mount (Strongest Option)


Steps:
- Choose the position on your wall.
- Hold the crate in place and mark the drill points with a pencil.
- Drill holes into the wall at the marked spots.
- Insert wall anchors if your wall is concrete or brick.
- Screw the crate directly into the wall from the inside.
- Check that it is secure and level.
Best for holding moderately heavy items.
Method 2: Using Metal Brackets (Extra Support)


Steps:
- Install metal brackets onto the wall.
- Place the crate on top of the brackets.
- Secure the crate to the brackets if needed.
Adds stability and gives a cleaner, more polished look.
Method 3: Hanging with Rope (Lightweight & Decorative)


Steps:
- Drill holes in the corners of the crate.
- Thread strong rope through the holes and tie securely.
- Hang from wall hooks.
Ideal for decoration or lightweight storage only.
Helpful Tips
- Always match screws and anchors to your wall type (concrete, drywall, etc.)
- Avoid placing heavy items unless the mounting is strong
- Arrange crates creatively (grid pattern or staggered design)
- Paint or decorate the crates for a stylish finish
Final Result
With this simple DIY project, you’ll create practical and attractive wall shelves at almost no cost.
Better organization
Smart use of space
Unique decorative touch
If you’d like, I can also give you creative ideas to decorate your crate shelves like a pro