The Christmas cactus (Schlumbergera) is a beloved holiday tradition, known for its vibrant winter blooms and impressive longevity. Because these plants can live for decades, they often become cherished family heirlooms. Propagation is the perfect way to “pass the torch,” allowing you to create new plants for your home, share a piece of history with friends, or simply refresh an older, leggy cactus.
Best of all? The Christmas cactus is incredibly eager to grow. With a little bit of patience and the right technique, you can turn a single segment into a thriving new plant.
Timing is Everything
While you can technically propagate a Christmas cactus year-round, your success rate will be highest during its active growing season—typically spring through early summer. During this time, the plant is naturally pushing out new growth and will root much faster.
Important Note: Avoid taking cuttings while the plant is in its budding or blooming phase. This can stress the parent plant and significantly reduce the chances of your cuttings taking root.
The Essentials Checklist
Before you begin, gather these simple materials:
- A healthy, established Christmas cactus.
- Clean, sharp scissors (though twisting by hand is often better).
- A small pot with excellent drainage.
- A well-draining succulent or cactus potting mix.
- Optional: Rooting hormone (to speed up the process).
Step-by-Step Propagation Guide
1. Select the Perfect Cutting
Look for a firm, vibrant green section of the plant. A good cutting should have 2 to 4 segments. While you can use older, woodier stems, fresh green growth tends to root more reliably.
- The Pro Tip: Instead of cutting, try to gently twist the segment at the joint. This natural separation point heals more quickly and encourages faster root development than a clean scissor cut.
2. Let the Cutting “Callus”
This is the most critical step that beginners often skip. Lay your cuttings on a paper towel in a dry spot for 24 to 48 hours. This allows the “wound” to dry and form a callus, which prevents the cutting from rotting once it’s exposed to moisture.
3. Choose Your Method: Water vs. Soil
Both methods are highly effective, so choose the one that fits your style:
- Water Method (Great for visual learners): Place the callused end in a small jar of water, ensuring only the bottom-most segment is submerged. Keep it in bright, indirect light and refresh the water every few days. You should see roots appearing in 2 to 3 weeks.
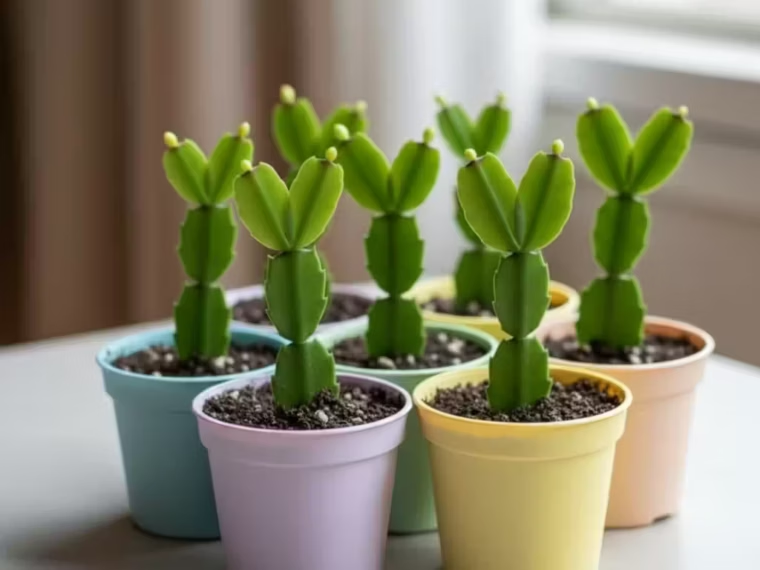
- Soil Method (Stronger root systems): Dip the callused end in rooting hormone (optional) and insert it about 1 cm deep into moist cactus mix. Firm the soil so the segment stands upright. Keep the soil slightly damp but never soaking wet. Rooting typically takes 3 to 5 weeks.
Caring for Your New Arrival
Once the roots are established (usually when you feel resistance if you give the cutting a very gentle tug), treat it like a mature plant:
- Light: Provide bright, filtered light. Direct afternoon sun can scorch the delicate new segments.
- Water: Keep the soil consistently moist, but allow the top inch to dry out between waterings.
- Patience: Don’t fertilize for the first month. Your new plant needs time to settle in before it can handle extra nutrients.
What to Expect Next
Don’t be discouraged if you don’t see flowers immediately. A newly propagated Christmas cactus generally requires 1 to 2 years of growth before it is mature enough to produce those iconic holiday blooms. However, once it starts, you’ll have a beautiful, self-made plant that can brighten your winters for years to come.
Common Pitfalls to Avoid:
- Overwatering: This is the #1 killer of cuttings.
- Direct Sunlight: Newly rooted plants are very sensitive to heat.
- Deep Burial: Only the very bottom of the segment needs to be in the soil or water.